Tuesday, February 16, 2016

How to Train Your Dragon


This kitty has her dragon purr-fectly trained.
Hi, Friends.......

I am here with a dragon card I made for this week's MFP Speedy Fox & Friends Challenge. (My card doesn't really have anything to do with the movie that I referenced in the title of this post, I just thought "Dragon Card" seemed a little uninspiring!)  This week at MFP, Pat gave us an interesting tutorial to follow where you block off your image in black and make a squiggle frame.  Even my best attempts at straight lines end up being squiggles, so that part was right up my alley!!  :)


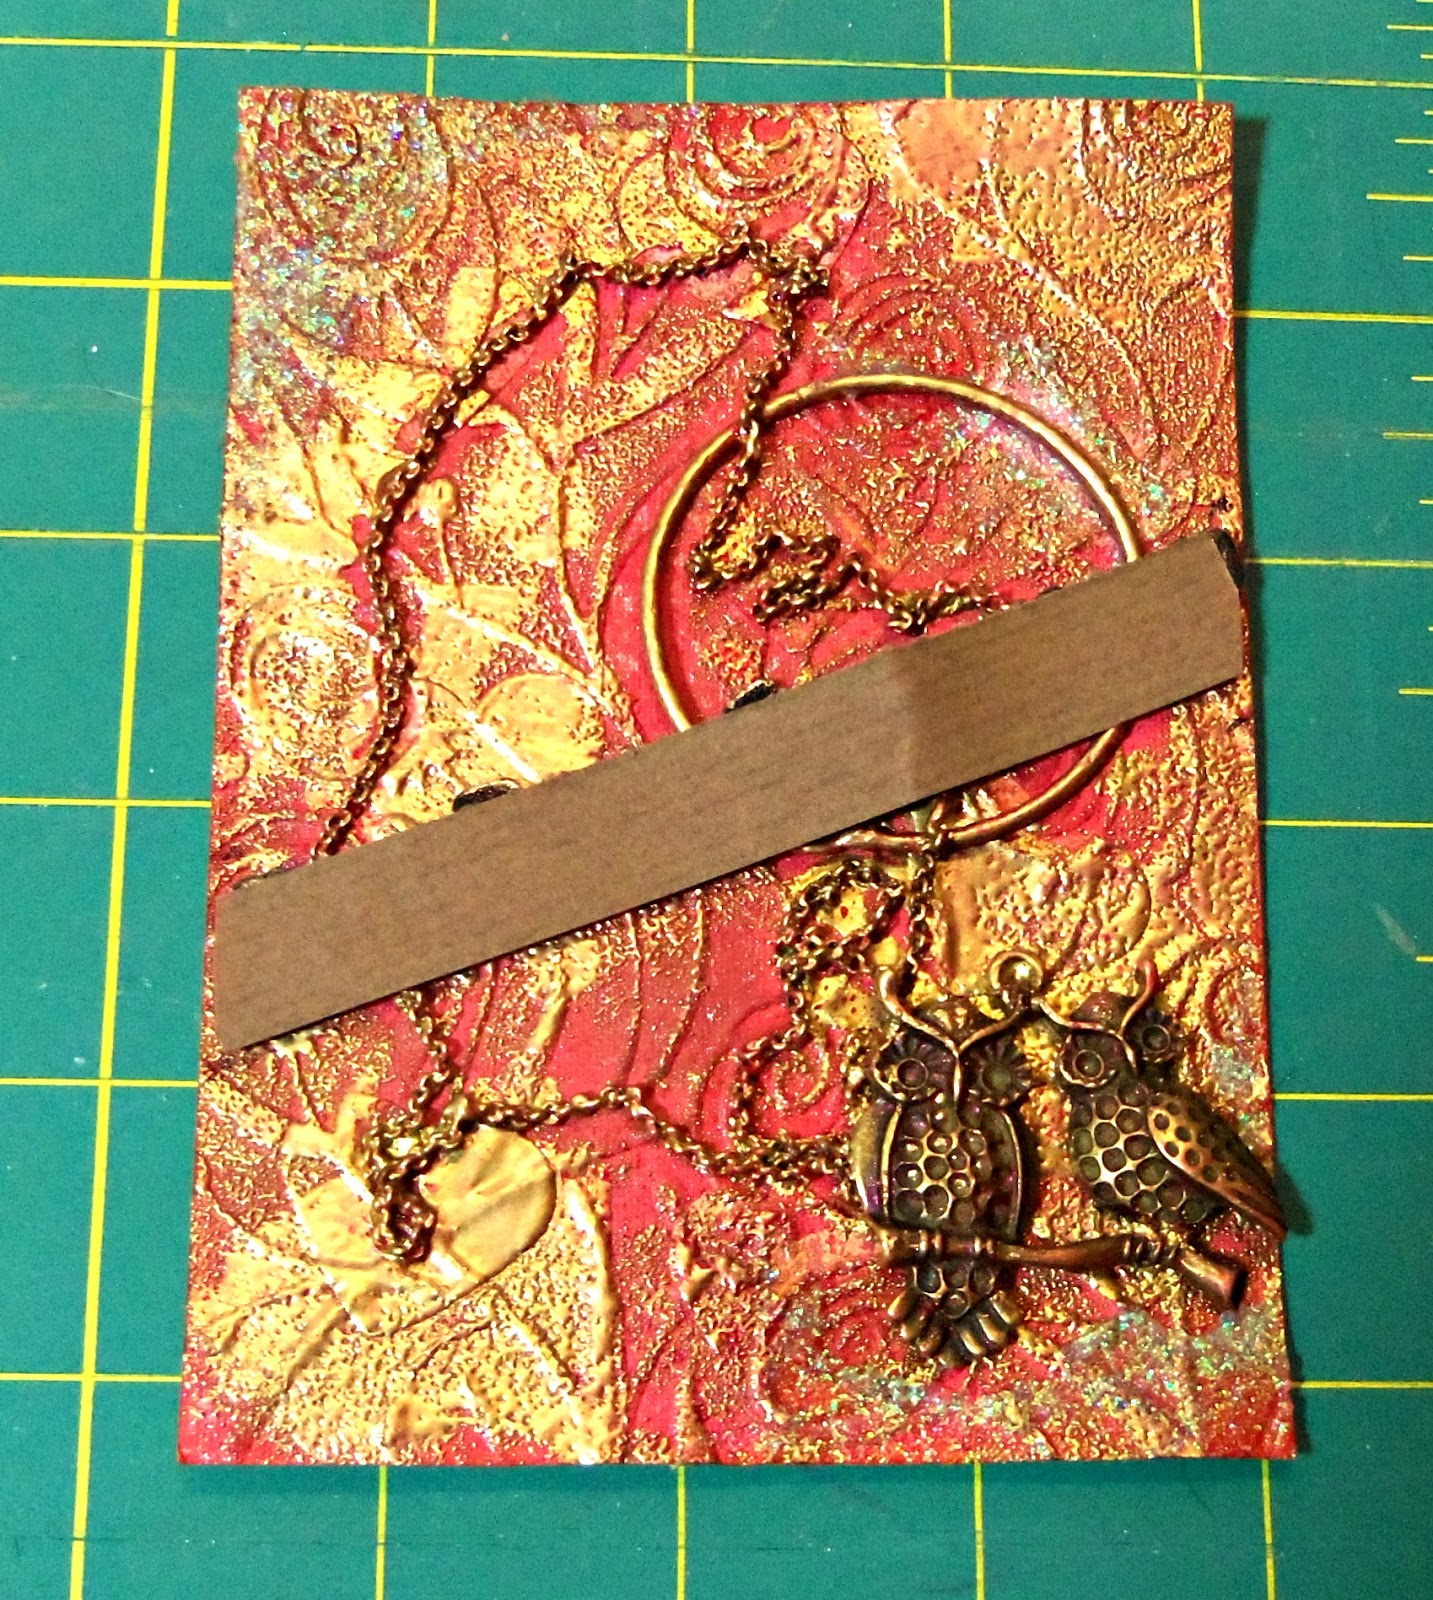
I used the dragon image from my Mark's Finest Papers - Lucky You stamp set. He's a majestic creature, but coloring him and the black block was a labor of love! I used gel pens to color each individual dragon scale in shimmering reds and gold. Do you like him on the kraft? The tutorial did not specify that you had to use white cardstock, and I thought kraft suited him better. I used Versafine ink in Onyx Black and heat embossed him with clear powder so the black lines wouldn't disappear into the block pattern.


Other supplies used:  Mark's Finest Papers - Works of Art stamp set,

(I used the Chinese character background stamp on my red panel. I needed something to make that subtle polka dot pattern more Oriental!! Now you can't even tell it has dots behind there. Yay!)
Distress Ink - Brushed Corduroy, Fired Brick, thrift store gold and red twines.

Hope you like my card. Thank you, as always, for stopping by and leaving your wonderful comments.
 

<3
Janis

Thank you for the honor of entering this card in the following challenges:
1. MFP Speedy Fox & Friends Challenge #7
2. The Male Room Challenge #28 - Oriental
3. DL.Art Thankful Thursday Challenge #174 - Pink, Red, Hearts, or Any Combination of One or More
4. Ribbon Girls February Challenge - Any Card
5. One Crazy Stamper February Challenge - Anything Goes
6. DRS Designs Challenge #213 - Hot or Cold
7. DL.Art February Linky Party Challenge - Anything Goes
8. Crafting with Dragonflies Challenge #50 - Any Card

9. Craft Stamper Take It Make It February Challenge - Text Me

Saturday, February 13, 2016

Silvery Valentine


Hi, Friends......

I am here to share a valentine with you......that I did a bold experiment on!  This started out as two backgrounds I had made last year.  I had set them aside in the black hole that consumes all my extra backgrounds and figured I would deal with them later!  Ha. Well, a year later it is nearly Valentines Day, so I thought I had better pull the poor dears out of oblivion and make something with them.  But I had a problem.....

Question:  What can you do when you have your card all finished and you still think the colors are more intense than they should be?  

Answer:  Give it a good spritzing with Perfect Pearls Mist!!!  

Yep, that's what I did.  The card was all done....100% completely finished....sentiment panel and all....and I realized it was just too bright.  So I threw caution to the wind, fully realizing that I might absolutely ruin this card, and started spritzing.  lol... I don't use my Perfect Pearls Mist nearly often enough and so I wasn't sure I was doing the right thing.  But I love how it ended up with this super-frosty look.  Magical!!

What do you think?

I have the light angled here so you can see the silver shimmer!

Other supplies I used include: Darice - Flowers and Vines Pattern embossing folder, Darice - Swirl Background embossing folder, Versamark ink, silver embossing powder, DCWV scraps, Elmer's Painters Marker - silver, sentiment from dollar rack, thrift store silver mesh ribbon, premade gray card base.

Hope you enjoyed seeing my misting experiment!  Thank you for all your wonderful comments.  Have a lovely weekend!!

<3
Janis


Thank you for the honor of entering this card in the following challenges:
1. Simon Says Stamp Monday Challenge - Spritz & Spray
2. Mod Squad - From the Heart
3. DL.Art Thankful Thursday Challenge #174 - Pink, Red, Hearts, or Any Combination of One or More
4. Dragonfly Journeys Challenge #43 - Queen of Hearts
5. Amusing Challenge - Hearts
6. Country View Challenges February - Make Your Own Background
7. Ribbon Girls February Challenge - Any Card
8. Design Memory Craft Take the Challenge with Mou February - Hearts
9. A Colorful Journey Let's Play February Challenge - Use Some Neglected Art Supplies (I used some neglected backgrounds and my Perfect Pearls Mist)
10. Southern Ridge Trading Company February Challenge - Anything Love
11. One Crazy Stamper February Challenge - Anything Goes

Friday, February 12, 2016

Starry Sky with Distress Inks


My cats never crowd together like this on the hood of my car.  They don't get along together that well!!   However, when I go out after dark with a headlamp on to close up my chicken pen, I do see glowing pairs of eyes watching me from all over the place.  8)

Hi, Friends.....

I am back with my other entry for the Mark's Finest Papers January Blog Hop Tutorial Challenge. You can see my first entry here. For this challenge, we were given a wonderful tutorial for making a water background with Distress Inks and flicking water. It seemed like it would be perfect for a night sky background, too, so I grabbed my Winnie & Walter - Scenery: Big Bang Confetti stamp set for some stars using emboss resist.

My image and sentiment are from Mark's Finest Papers - Heavenly Harmony stamp set.  The image is stamped on a scrap of vellum and heat embossed with silver powder.  I have never been able to get what I consider a good heat embossed image with this sun/moon image and had neglected it because of that.  So this time, I played around with several of my different silver embossing powders and eventually found the right powder for the job: a mid-grade (not too coarse, not too fine) that gave me a good image of true silver when heated.  Yay!  

I just hadn't taken the time before to really play with all my silver powders to figure this out.  Do you want to take a guess at how many different silver embossing powders I have?  I have eight different varieties....ranging from aged silver to chunky embossing enamel to fine detail powder.  Each has different properties and a different color.  I write notes on the stamp packages and/or powder containers about which works best with what. 

Do you think the water splattered background technique works for the night sky?  I think so.  

Keeping this short again, so I can get this posted and linked up.  Thank you for visiting!!!

<3
Janis

Thank you for the honor of entering this card in the following challenges:
1. Mark's Finest Papers January Blog Hop Tutorial Challenge
2. DRS Designs Challenge #213 - Hot or Cold
3. A Colorful Journey Let's Play February Challenge - Use Some Neglected Art Supplies (I used a stamp that I had neglected)
4. Flonzcraft VSC #41 - Splatters or Drips (I used water splattering.)
5. Country View Challenges February - Make Your Own Background
6. Winnie & Walter Belated 2nd BD Bash - Two Challenge with Shay (I used two stamps sets and two colors of embossing powder)
7. Winnie & Walter Belated 2nd BD Bash - Create Your Own Background
8. Pixie's Snippets Playground Week 215 - Use Snippets
9. Winnie & Walter Belated 2nd BD Bash - Image Inspiration
(I was inspired by the dark and light panel contrasts and also by the big flower on the coffee table that reminded me of the sun/moon image I used.)


Beachy Gelato Tag


Hi, Friends.....

I am here with a tag I made for the Mark's Finest Papers January Blog Hop Tutorial Challenge.  There were two tutorials to choose from:  Finger Painting Book Mark and Water Background.  I hope to squeak in with another project for the other tutorial, but my first one follows the Finger Painting instructions using Gelatos.  I don't really do bookmarks, though, so I made a tag instead.    


I was glad to have an excuse to use my poor neglected Gelatos.  I loved playing with them!  First I scribbled them in place, and then moistened my fingertip with water and blended them. I masked off the sky/sea boundary with washi. My image and sentiment are from Mark's Finest Papers - Silly Shells stamp set. I colored my boat and mast with watercolor pencils so the Gelato background wouldn't show....as much. :) 

This is the first time I have tried doing a reflection in the ocean with Gelatos.  I am not dissatisfied with my first attempt, but I do see things I could do differently.  All in all, though, I like the tag.

I'd like to make special mention of the pretty crinkle ribbon. It's from Diana Larson and is the Pink Hue Tail from The Mermaids Tail - First Edition collection. Yummy. (Thanks, Diana!!!) Little Peach was fascinated that this ribbon was the color of a mermaid's tail!! :)

Okay....I am making this super-short so I can get it posted and linked up. Thank you for stopping by!! See you soon.

<3
Janis

Monday, February 8, 2016

Valentine with Glitter Edging


So what does this say about someone who has cat hair AND real glitter all over????  Ha!

Hi, Friends.....

I am here with a sparkly valentine to share with you. Do you recognize this background as very similar one to what I used for my Mixed Media Valentine??? This one also has hearts punched from scraps and dry embossing with the Darice - Ranunculus folder, and sponged with Distress Ink in Fired Brick.


This time, instead of using heat embossing, I was inspired by this fun idea I saw on a YouTube from Unity about making a glittery edge. I laid down a border of Glossy Accents and sprinkled the Bronze Glass Glitter from the Stampendous Encrusted Jewels Frantage Kit - Bronze over it. (I don't use my poor neglected Frantage kits nearly often enough. I really love them, but seem to use other things.) Next, I added a few more dots of GA here and there and sprinkled on some thrift store black heart confetti. I love the gorgeous sparkle under the hearts!!!
I used more of my delicious black velvet ribbon and......I just noticed....I am really liking diagonals lately!  Hmmm....not sure what got me started on those.  lol....  

I added another focal piece "thing" that came with the red "thing" in my last project.  I don't know what you call these things!!!  Ha.  I don't think I have any of these things left....so I probably will discover their real name now!

I layered up some Prima flowers and attached a Quick Quotes brad in their antique color.  (Thanks, QQ!!!)  Then I matted the panel with black cardstock and mounted everything on a shimmery charcoal card base.  

Hope you like my card.  Thank you for stopping by!!!

<3
Janis

Thank you for the honor of entering this card in the following challenges:
1. A Colorful Journey February Challenge - Show Some Neglected Art Supplies Some Love
2. Simon Says Stamp Wednesday Challenge - Have a Heart
3. Eclectic Ellapu - Love Actually
4. Craftin' Desert Divas Linky Party - Hearts
5. Country View Challenges February - Make Your Own Background
6. 4 Crafty Chicks Challenge #284 - Love
7. Amusing Challenge - Hearts
8. Dragonfly Journeys Challenge #43 - Queen of Hearts
9. Word Art Wednesday Challenge #219 - Anything Goes Family Friendly
10. Ribbon Girls February Challenge - Any Card
11. Cards in Envy - From the Heart
12. Double D Challenges - Pretty Pink Hearts
13. DL.Art Thankful Thursday Challenge #173 - Anything Valentine
14. Mod Squad Challenge - Hearts and/or Flowers
15. Little Scrap Pieces Show it Off Saturday Linky Party

Saturday, February 6, 2016

Mixed Media Valentine with Lots of Metal


Hi, Friends......

I am here with a mixed media valentine today.  I had this background leftover from last year along with some miscellaneous broken jewelry pieces from a thrift store grab bag.  I never was quite satisfied with any design ideas I had for it, so it all sat in a zippy sandwich bag awaiting another Valentine's Day and perhaps a zap of inspiration to strike my brain!  :)

The background was a piece of rose colored cardstock with punched hearts from scraps glued on. Then it was dry embossed with my Darice - Ranunculus folder. 

I totally adore how this folder makes a rose-like impression. I sponged it with Distress Ink in Vintage Photo to bring out the texture.


The glue attaching the old salvaged jewelry pieces is still wet here and looks white.

Next I glued on these old pieces of cheap broken jewelry. Much of the finish was worn off and they were rather ugly, but I knew how to fix that! :)

I went wild smooshing Versamark over the entire thing and heat embossed with some fine detail gold powder....so as not to obscure the fine textures of the chain.  Oh, yesssssss!!!  LOVE!!


Not only did the heat embossing shine up the chain and mismatched hoop earring, but it gave a nice gilded look to the rest of the paper, too.

Next I glued on an adorable pair of owls.  My daughter (who makes and sells jewelry) gave me this broken charm, thinking I might be able to use it.  Why, yes, I certainly can!  Thank you!  :)  

I glued the broken pieces back together on the card and heat embossed again with gold powder to cement them on.  I love that heat embossing can be used as glue!  The owls and the chain are very firmly attached to the card now.


I misted over the entire thing with Clearsnap Smooch Spritz in Pomegranate to give a "rose gold" look and wiped off the excess with a baby wipe. I don't know if you can tell from the photos that this one is a bit redder than the one before. I also dabbed on some Faber-Castell Glass Bead Glitter Gel here and there. It looks blue-green in the photo.

Next I prepared a diagonal area for adhering a ribbon across this very lumpy, bumpy, uneven surface.  I put marks on the edge where my ribbon borders would be and used a ruler to keep my adhesive foam squares inside the boundary lines.  By using the tiny foam squares, I could place them strategically around the chains and embossed ridges.


Next I attached a scrap of brown cardstock over the foam squares.  As you can see, this still isn't completely level, but it gives my ribbon a solid platform on which to lie down.  Otherwise it would be very wavy.

And here is my finished card.......

I have the light angled on this so you can see the bright shiny gold.  Yum!!

I put a shimmery gold Serendipity - Love die cut over the black velvet ribbon. I'm not sure what you call the red thing. (I don't have the package anymore, but it came with the flat-backed gem I used for the body of my spider in my Halloween project.) I mounted it all on a black card base. Do you like it????  I love how it turned out.

I really had a great time playing and experimenting around with all these techniques and supplies.  One of my crafty goals this year is to make more mixed media pieces.  I think I will ask my wonderful local thrift store to save me any broken jewelry that they would otherwise discard because this project was way fun to make!!!

Thank you for stopping by.  Your visits and your kind comments mean so much to me!!!  

<3
Janis

Thank you for the honor of entering this card in the following challenges:
1. Design Memory Craft Take the Challenge with Mou February - Hearts 

2. Serendipity Stamps Challenge #52 - Anything Goes
3. A Colorful Journey February Challenge - Show Some Neglected Art Supplies Some Love
4. Simon Says Stamp Wednesday Challenge - Have a Heart
5. Eclectic Ellapu - Love Actually
6. Southern Ridge Trading Company February Challenge - Anything Love
7. Country View Challenges February - Make Your Own Background
8. 4 Crafty Chicks Challenge #284 - Love
9. Pixie's Snippets Playground Week 215 - Use Snippets

Monday, February 1, 2016

Welcome, Little One!!!


Hi, Friends.....

I am here with a shaker card I made for a new little grand-nephew.  I made the card in a froggy theme to go with the simple quilt I also made for him.  I just love how cute the card turned out.


It's fairly self-explanatory, so I will just give you a brief description. The green DCWV sparkling holographic paper is a leftover scrap, along with all the other paper I used. The froggy in the shaker is a sticker from a JoAnn clearance pack. Both sentiment stamps were in thrift store grab bags, as were the satiny puffy stars. I used my Sizzix - Circles, Scallop , Paper Smooches - Gift Tags Dies, and Lawn Fawn - Into the Woods die set. The sparkly green circle is some glitter foam from the dollar store. Fun!!!

I hesitate even to post a photo of the very simple quilt that I made for the new baby because I live in an extremely tiny community that happens to have numerous highly-skilled quilters and a very nice quilt retreat center. My little pieced and tied quilts are made with love (and with lots of leftover fabric scraps!), and are nothing like the totally amazing quilts my neighbors make. Wow. Wow. Wow.

I purchased the cute little froggy fabric and used it as the theme of the quilt.
Hope you enjoyed my little froggy shaker card.  It was so much fun to make!!!  Thanks always for your visits and kind comments.

<3
Janis

Thank you for the honor of entering this card (and quilt) in the following challenges:
1.  The Male Room Challenge #27 - Babies and Little Boys
2.  Pixie's Snippets Playground Week #214 - Use Snippets
3.  Little Scrap Pieces Show it Off Saturday Linky Party
4.  Crafty Cardmakers Challenge #156 - Punches and/or Dies
5.  Speedy Fox & Friends Challenge #5 - Anything Goes
6.  Word Art Wednesday Challenge #218 - Anything Goes Family Friendly
7.  Simon Says Stamp Wednesday Challenge - Anything Goes
8.  Simon Says Stamp Monday Challenge - Ray of Sunshine   (Awww...Babies are a ray of sunshine!!)
9.  Critters and Creatures February Linky Party #1 - Animal as Focal Point
10. Amusing Challenge #26 - Anything Goes
11. DRS Designs Challenge #211 - Sparkle & Shine
12. One Crazy Stamper February Challenge - Anything Goes