Wednesday, March 9, 2016

CAS Bunny Card - MFP Challenge


Hi, Friends......

I am here with a sweet little card for this week's MFP Stamp Shop Challenge where they ask us to make a Clean and Simple Bunny card. 


I dry-embossed some heavy duty white cardstock with my Darice - Oblong Doily folder. Then I used my Mark's Finest Papers - Hoppy Easter stamp set for the bunny image and a Happy Birthday sentiment from my Mark's Finest Papers - Silly Shells stamp set. I stamped with Versafine ink in Smokey Gray and doodled in my grass and tiny honeybee with the 005 pen from my Pigma Micron Black Pen Set.

I watercolored my little scene by swiping my aquabrush over my Crayola Watercolor Pencils. Next, I rubbed my finger over my Cotton Candy Gelato and applied it to the doily pattern to accent the texture. I gently rubbed it with a moist baby wipe to blend. Lastly, I finished by mounting it on a pale blue card base. I think it turned out really cute!!

Hope your week has been going well. Thank you for coming by to visit!!!

<3
Janis

Thank you for the honor of entering this card in the following challenges:
1. MFP Stamps Challenge #10 - CAS Bunny
2. Word Art Wednesday Challenge #221 - Anything Goes Family Friendly
3. Critters and Creatures Linky Party 2 March - Anything Goes with Critter or Creature as Focal
4. Die Cut Divas - Something Spring
5. Twofers Challenge #15 - Organic (must stamp)
6. Great Impressions March Challenge - Bunny Hop (Easter/Spring)
7. Penny Black at All Sorts - Feature a Creature (must stamp focal)
8.  Craft Stamper March TIMI Challenge - Take a Stamp (must stamp)
9. One Crazy Stamper March Challenge - Anything Goes
10. Fun Cuts Challenge - O is for Oval
11. Amusing Challenge - Birthday Celebrations
12. Simon Says Stamp Wednesday Challenge - A Bit O' Green

Tuesday, March 8, 2016

Scatter Joy - Skipping Stones Sketch

Cats scatter joy just by being cats!  <3


Hi, Friends.......

I'm here with a card I made for the Skipping Stones Designs Sketch Challenge.  I am immediately attracted to sketches that have a large circle in them because I have this ginormous circle punch that I LOVE to use (on scraps)!!  :)  My punch makes the perfect size circle for my plethora of 3-1/2" wide scraps and the circle fits perfectly inside some pretty doilies I have!  (Yes, I know...I know... you have seen me do this before, but there might be some newer peeps visiting that haven't!  Probably not....but, oh, well....  Ha!)


I started pulling out some scraps and spied this aqua print piece with a bit of apricot in it.  Aha....that's what I will do.  I began pulling out other aqua pieces, thinking I would go monochromatic.  Then I spied some apricot/orangey paper.  Wow...LOVE this color combo!!!  Scrap bags be hanged....I went right to the shelf where I had a brand-new pad of DCWV paper-backed burlap in spring colors.  Oh, yes!!!!  (THIS LINK is not the same stack...different colors...but same fabulous product.  Can't find a link to the color variety that I am using.  Sorry!)


The problem was...it had both the aqua AND the orange color I wanted.  Which to make?  Which to make??? Why not both?  :)  Which do you like better?  I think I like the one with the aqua burlap better.


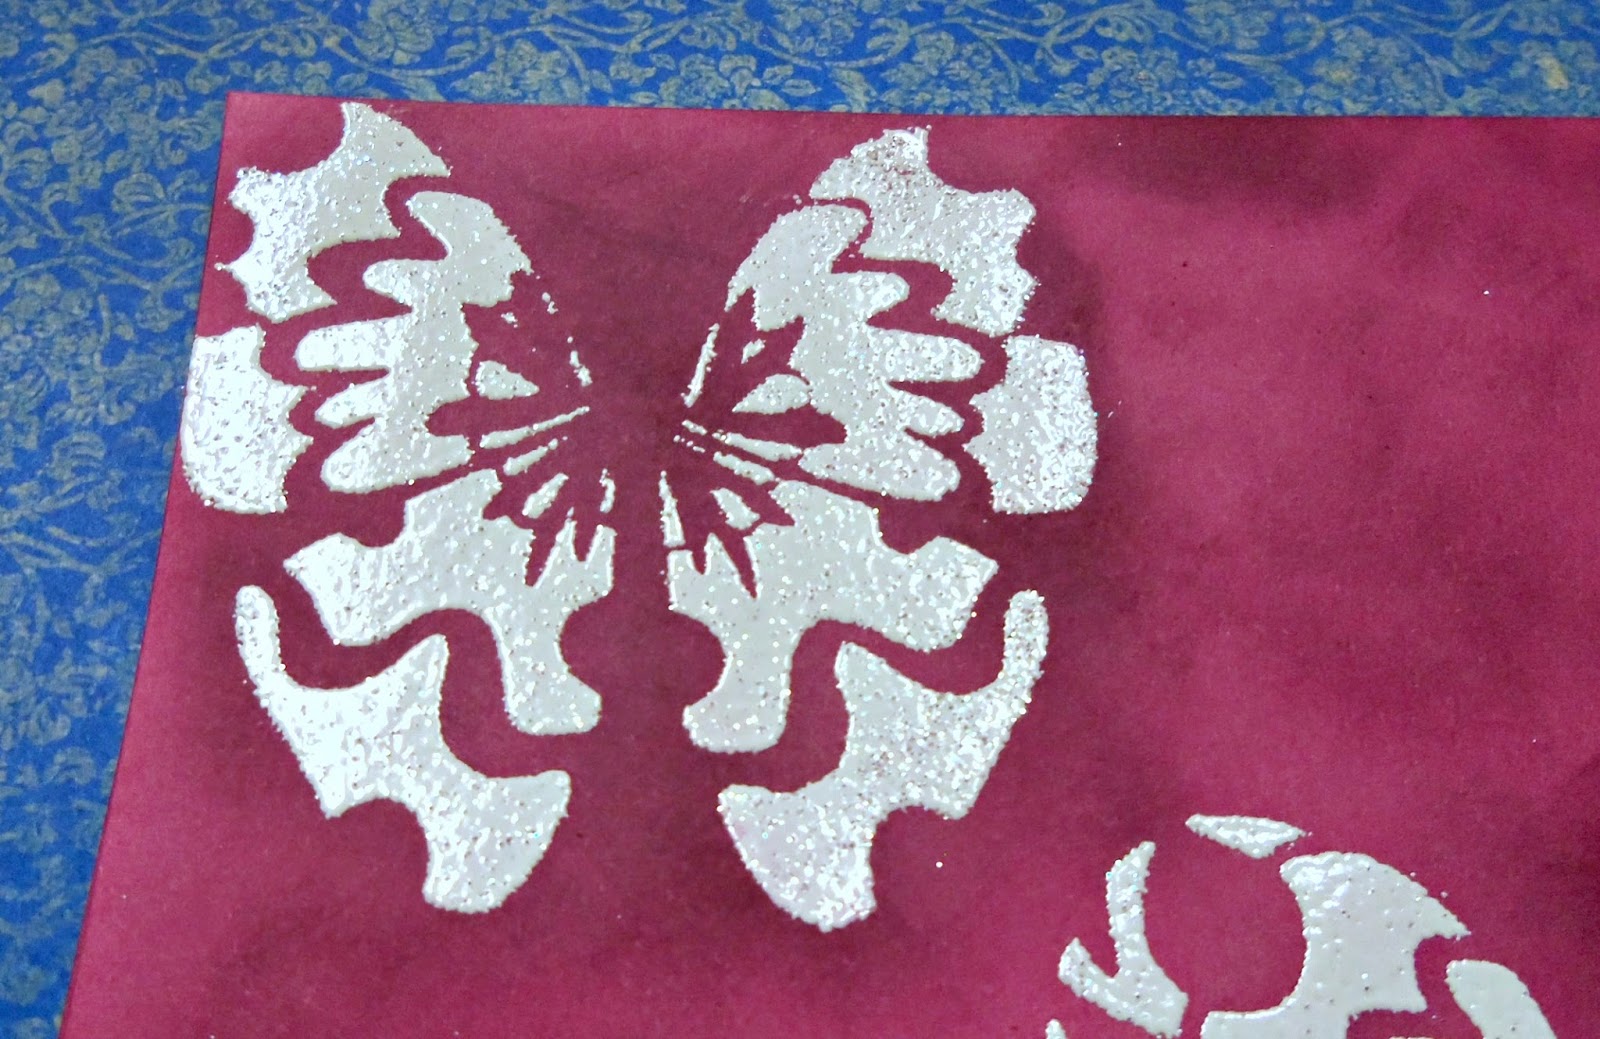
I punched two vellum circles and used just the absolute sweetest stamp set that my crafty friend, Karen Ladd, sent me for my BD a couple weeks ago.  LOVE LOVE LOVE this set!!!!  (THANKS, Karen!!!) It is called Joy by My Sentiments Exactly.  I stamped the sentiment and hearts with Versafine ink in Smokey Gray and heat embossed with clear powder.  I love that the vellum lets you see the patterned paper behind it, and yet the pale gray stamping still is the focal point.

So with my two NBUS (never before used schtuff) things (the springy burlap and the stamps), I am also entering this in Darnell's NBUS #6.  There is only another day or two left to enter, but you know me....why enter early when you can squeak in with an entry 5 minutes before the door slams shut!!  lol....  I hope you will join us!!


Thank you so much for stopping by today!  It is sunny here (for now) in North Central Idaho, but chilly.  My outside animals reposition themselves throughout the day like sundials to get the best advantage of any sunny rays.  :)  Such sweet creatures.

<3
Janis

Thank you for the honor of entering these cards in the following challenges:
1. Skipping Stones Designs February Sketch Challenge
2. NBUS #6 - "Never Before Used Schtuff" lol...
3. Great Impressions March Challenge - Bunny Hop (Easter/Spring)
4. DRS Designs Challenge #216 - Bling it On
5. Word Art Wednesday Challenge #221 - Anything Goes Family Friendly

Monday, March 7, 2016

"Faith is..." Butterfly Card


Hi, Friends.....

I am back with another butterfly card for Mrs. A's Butterfly Challenge with the prompts of Butterfly + G is for Glitter and/or G is for Grape. Do you love purple like I do? Oh, yum! What a gorgeous color!!! And glitter? Oh, I am in raptures!!
(I'll be sweeping this stuff up for the next 6 months! Ha.)


I also used the fabulous Week 1 Viva la Verve sketch for March. I just LOVE this sketch! It's perfect for using scraps......which I did! All the papers I used for this card were from my scrap bag. Yay!!!
I used my Verve - Scripture Medley 2 stamp set for the lovely scripture verse, which I stamped with Altenew Crisp Dye Ink in Deep Iris.


I used a pearly piece of purple paper (didn't mean to do all that alliteration...ha!) which I dry embossed with my Darice - Floral and Butterfly Background folder. I "painted" some glue into selected parts of the purple panel and sprinkled on some silver glitter for some sparkle. It's a little hard to tell, but the floral panel is also sparkly.

I die cut my square panels with my My Favorite Things Die-namics - Stitched Square STAX die set and used some shiny purple butterfly stickers that I might have possibly...um...errr..."borrowed" from my 5-year old granddaughter! lol...
(Please tell me I am not the only one who absconds with craft supplies from the youngsters! Ha.) The tips of the wings of the upper butterfly were blue, instead of green, so I used an lime-green ultra-fine Sharpie to make it green. It was still a bit too emerald, so I colored over it again with yellow. I like this color much better for my card.

I made a second card just like the first with shiny silver butterfly confetti pieces, instead of the purple butterfly stickers. Which do you like better? I think I like the purple butterflies better.


Thank you so much for your wonderful comments. I appreciate you taking time from your busy day to stop by. It means a lot to me!! Have a lovely week!

<3
Janis


Thank you for the honor of entering this card in the following challenges:
1. Mrs. A's Butterfly Challenge #49 - Butterfly + G is for Glitter and/or Grape
2. Week 1 Viva la Verve sketch for March
3. Simon Says Stamp Work it Wednesday February Challenge - Use Florals
4. Word Art Wednesday Challenge #221 - Anything Goes Family Friendly
5. One Crazy Stamper March Challenge - Anything Goes
6. MAWTT Challenge #15 - Purple Haze
7. The Artistic Stamper March Challenge - Springtime (must stamp)
8. Pixie's Snippets Playground Week 219 - Use Snippets
9. Craftin Desert Divas - Lots of Layers
10. Die Cut Divas - Something Spring
11. Great Impressions March Challenge - Bunny Hop (Easter/Spring)
12. Simon Says Stamp Wednesday Challenge - Touchy Feely
13. DRS Designs Challenge #216 - Bling it On
14. Mod Squad Challenge - Feature a Creature
15. Addicted to Stamps Challenge #121 - Glitter/Bling with a Stamp

Happy Easter Basket


Hi, Friends.....

I am here with a little Easter basket I made for the Mark's Finest Papers Hearts and Bunnies Tutorial Challenge.  I don't often make 3D paper projects (altered jars are about as 3D as I usually get!), but this one looked fun and within my skill set so I took the plunge!  lol...  Vickie on the MFP DT made a lovely tutorial for this project. Oh, let me tell you......I got so totally enchanted with these charming little baskets that I am organizing a girly crafty afternoon at church to make a bunch of these for table decorations for our Easter Breakfast Potluck!! We will fill them with flowers and have a couple of them on each table. Cute!!! Thank you, Vickie!!


These very pale Easter colors were difficult to photograph.....sorry.

For my basket, I selected some DCWV scraps and followed the tutorial, using my Mark's Finest Papers - Lily of the Valley stamp set. I stamped it with the floral image and label from that set with Versamark ink and heat embossed it with white powder. I selected only very simple embellishments for this one.....the Happy Easter from my Mark's Finest Papers - Hoppy Easter stamp set, which I heat embossed with aqua powder, and a shimmery bow.  

I love how my basket turned out.  This easy craft will be super-fun for the ladies and the young girls to do together at church.  We'll make sure the girls make extra so they can take a few home, too.  :)

Thank you for stopping by.  Your visits and lovely comments mean so much to me!!  Have a wonderful week!

<3
Janis


Thank you for the honor of entering this project in the following challenges:
1. Mark's Finest Papers Hearts and Bunnies Tutorial Challenge - Baskets
2. WOW! Embossing March Challenge - Anything Goes with Heat Embossing
3. Simon Says Stamp Work it Wednesday February Challenge - Use Florals
4. Little Scrap Pieces Show-It-Off-Saturday Linky Party
5. The Artistic Stamper March Challenge - Springtime (must stamp)
6. Word Art Wednesday Challenge #221 - Anything Goes Family Friendly
7. Southern Ridge Trading Co. March Challenge - Easter
8. Simon Says Stamp Monday Challenge - Take a Leap (making a 3D paper project is new and kind of scary for me!)
9. One Crazy Stamper March Challenge - Anything Goes

Saturday, March 5, 2016

Stenciled Butterflies


Hi, Friends......

I am here with a simple stenciled butterfly card for Mrs. A's Butterfly Challenge.  This time the prompts are Butterfly + G is for Glitter and/or G is for Grape.  Sweet!  I managed to do both with my purple sponged background and my butterflies that are heat embossed with a glittery white powder. 


I started with a fuschia colored card base, although you can't tell because of my sponging. :) I used the lovely butterfly stencil from my Artistcellar - Tam's Whimsy Series 4-stencil set. I held it firmly in place and smooshed Versamark ink through the design. I also stamped the little "nature" sentiment from my Mark's Finest Papers - Nature's Brushstrokes stamp set with Versamark. Then I heat embossed with this super-glittery white powder. The sparkle didn't photograph well, but you can see it a tiny bit better in this next photo.


After heat embossing, I sponged with Distress Ink in Seedless Preserves.  I like the natural unevenness of the background.  

Do you like this simple card?  I like it a lot. It was fun and fast to make.  I really need to use my stencils more often!!!  Which of your supplies do you need to get out and play with this coming week?  

Thank you for stopping by!! Hope your weekend is a great one.

<3

Janis

Thank you for the honor of entering this card in the following challenges:
1. Mrs. A's Butterfly Challenge #49 - Butterfly + G is for Glitter and/or Grape
2. WOW! Embossing March Challenge - Anything Goes with Heat Embossing
3. MAWTT Challenge #15 - Purple Haze
4. Fun Cuts - N is for Nature
5. My Time to Craft Challenge #316 - One Layer Only
6. Lil Red Wagon Challenge #331 - Layer of One
7. Mod Squad - Feature a Creature
8. The Artistic Stamper March Challenge - Springtime (must stamp)

9. Amusing Challenge - Anything Goes

Friday, March 4, 2016

Lucky You!

My apologies to any of you who happened to see the meme I had up here initially.  How embarrassing!  Blame it on old grandma eyes not seeing what was in the photo or on "to the pure, all things are pure" or whatever.  Anyway, this one is better.  :)

Hi, Friends.....

I am back after a little rest from crafting after my big push last month with all the wonderful challenges. Today I am sharing a fun little card I made using tons of scraps and a sweet lucky kitty image and sentiment from my Mark's Finest Papers - Lucky You stamp set.


My background is simply scraps (mostly DCWV) that I glued onto some plain white cardstock and then overlaid with narrow strips, also from my scrap bag. (I always have so many of these very narrow strips leftover that I wanted to see if I could make a decent background out of them. I like how it turned out!)  After the glue was completely dried (very important step...I wait overnight, usually!) I dry embossed it. This time, I inked my Darice - Crackle folder on the deboss side with Distress Ink in Walnut Stain to get the ink into the "cracks".

I stamped my kitty and sentiment with Versafine ink in Vintage Sepia on subtly patterned beige cardstock and heat embossed with clear powder. I fussy cut the kitty and put him on some mulberry paper. The sentiment was die cut with my My Favorite Things Die-namics - Stitched Square STAX die set and attached to some deep cinnamon brown mulberry paper. Inside I stamped "Happy Birthday" from the same set and finished everything off with a bit of dollar store twine. I think it turned out really cute.

That's all for now.  I hope your week has been a good one and you are getting ready for a fabulous weekend!

<3
Janis

Thank you for the honor of entering this card in the following challenges:
1. MFP Stamps Challenge #9 - Brown
2. SUYP Cats Only Challenge #4 - Lucky Kitty
3. Pixie's Snippets Workshop Week 218 - Use Snippets
4. Shopping Our Stash #241 - White Out (no white paper)
5. Simon Says Stamp Wednesday Challenge - Touchy Feely (Add texture)
6. Little Scrap Pieces - Show it Off Saturday Linky Party
7. Amusing Challenge - Anything Goes

8. A Colorful Journey - Let's Play (I played with my scraps in a new way.)

Saturday, February 27, 2016

Altered Treat Jar with Hearts


Hi, Friends.....

I am here with a fun altered treat jar I decorated with tissue paper hearts for the Winnie & Walter Belated 2nd BD Bash - Anything but a Card Challenge. I like to save my empty glass jars and bottles to decorate as treat jars for gifts. For this one, I started with some salvaged dark pink tissue gift wrap. I stamped it with my Winnie & Walter - Scenery: Big Bang Confetti stamp set in gold and silver pigment ink.


Next I folded it into several layers and die cut it with the solid heart die from my Serendipity - Heart Scroll stamp and die set.


I had previously gessoed up the lid, so it was time to put a heart on it. I used a matte decoupage medium.


I had already glued a "paint clean up" paper towel onto the jar, so it was ready for hearts, too. I outlined them with Elmer's Painters Markers in silver.

After the hearts and all the decoupage medium were dry, I spread some Faber-Castell Glass Bead Glitter Gel here and there for some sparkle in between the hearts. After the glitter gel was completely dry, I rubbed on some Gelatos in Metallic Grape and Bubble Gum. I blended it with my fingers and misted with water to let it blend and run together. I put some on the lid, too, for some pretty color. I also sprayed it here and there with my Hero Arts Neon Ink Spray in pink.


I got tired of waiting for the neon ink spray to dry where it had pooled, so I got out my Perfect Pearls and dusted on some of the powder in Interference Red to absorb the rest of the tackiness and to give some extra shimmer.


Here's the front of the jar:


I finished up the jar with a shimmery ribbon and a tag I cut from a free printable from the Winnie & Walter shop. It's from their Daily Grind Collection Vol. 1 - Holiday Mint. I used my Paper Smooches - Gift Tags Dies to cut the tag.

That's all for now. Tomorrow (Saturday) is my birthday and we are going to be gone so I want to get this posted tonight. :) Don't forget to be watching for my Belated 2nd Blogoversary/Birthday Giveaway in early March! Yay! Have a wonderful weekend.

<3
Janis